In a nutshell
- 🧈 The frozen butter method keeps fat in solid pieces so moisture becomes steam in the oven, separating dough into crisp, flaky layers.
- 🔬 Science at work: butter’s delayed melt allows steam to lift while proteins set and starches gelatinise; start with a hot oven (200–220°C) to lock in lamination.
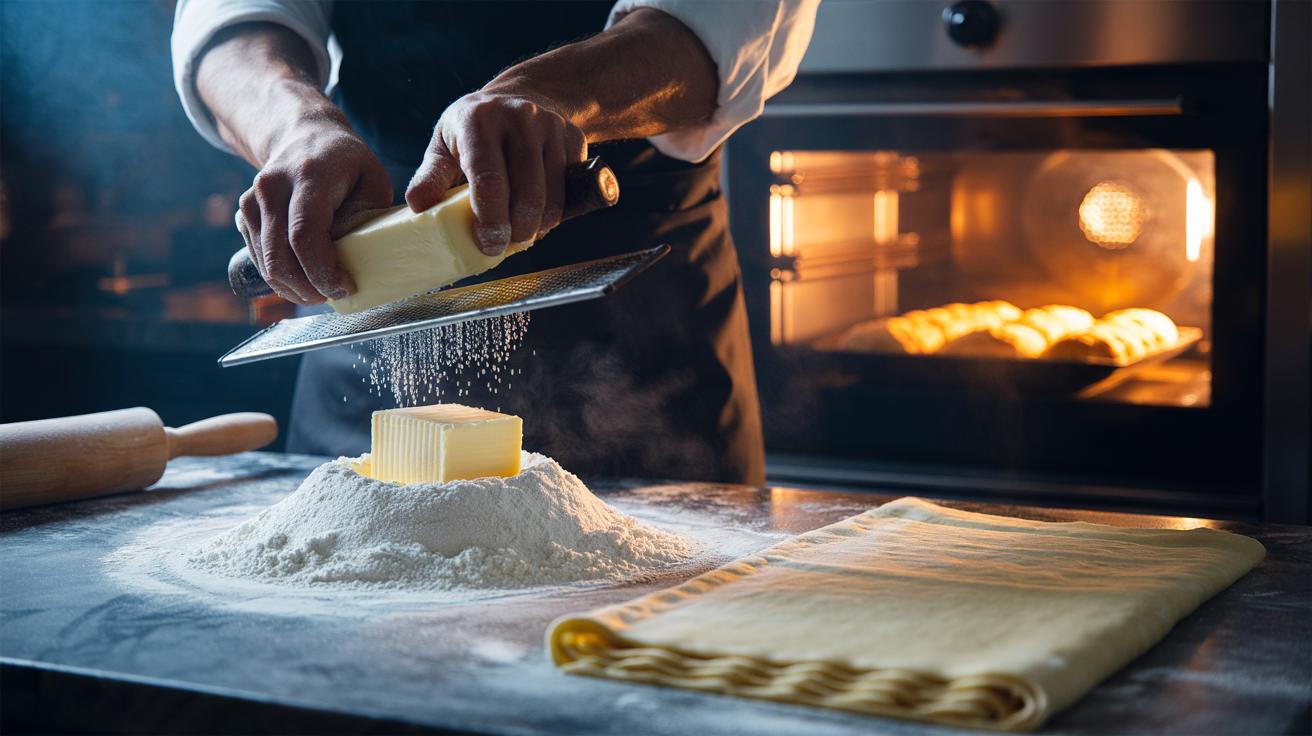
- 🧭 Step-by-step: freeze and grate unsalted butter, add icy water sparingly, chill between turns, and bake from cold for maximum rise.
- 🛠️ Troubleshooting: if layers slump or smear, chill, rest, and reduce handling; fix low rise with higher heat and tackle toughness by using less water.
- 🥐 Pro tips: choose flour at 10–11% protein, prefer higher-fat European butter, avoid sealing edges with egg wash, and use a quality, preheated tray.
There is a small thrill in cutting into a pastry and hearing the shatter of layers. That sound is not luck; it is science, technique, and temperature discipline. The frozen butter method has moved from professional kitchens into British home baking because it consistently turns simple dough into a crisp, multi-storey marvel. By keeping fat impeccably cold and in visible pieces, you engineer steam-powered lift and delicate separation between sheets of dough. Cold fat must remain discrete until the oven’s heat arrives. Master that principle and even a weekday rough puff, sausage roll, or fruit turnover gains a patisserie-grade finish.
Why Frozen Butter Changes the Bake
The core idea is disarmingly simple: start with solid fat and keep it solid as long as possible. When you grate or dice frozen butter into flour, you create countless tiny, protected pockets. During baking, these nuggets melt late, releasing moisture that flashes into steam, pushing dough layers apart like lifting jacks. Cold fat creates discrete layers that expand on cue, not a greasy smear that seals the structure shut. That separation delivers the hallmark lamination that reads as flake, lift, and audible crunch.
There is a second advantage: gluten control. Flour plus water wants to form strong chains; butter interferes by coating flour particles. When the fat stays solid, it’s even more effective at shielding the flour from overhydration. The result is a pastry that lifts dramatically, yet remains short and tender between the layers. Keep handling minimal and the temperature low, and the dough will oblige with orderly sheets rather than a dense, bready crumb.
Science of Steam, Starch, and Structure
Butter is typically about 82% fat and 16–18% water with milk solids. In the oven, that water becomes pressurised steam, inflating the dough like a bellows. Because the butter pieces start cold, they hold shape while the outer dough firms. The delayed melt is the clockwork that lets steam lift layers before fat liquefies. Meanwhile, flour proteins and starches undergo transformation: proteins coagulate to set structure, and starches gelatinise, building a crisp yet delicate architecture that traps the expanding vapour.
Timing matters. Butter softens around 20°C and melts near 32–35°C, but dough structure strengthens notably between 60–80°C. If the fat warms too soon, it greases rather than lifts, gluing layers together and leaking onto the tray. A fast, high-heat start (think 200–220°C) accelerates steam generation and rapid set, locking in lamination. Control these overlapping processes, and you control texture: tall layers, glassy edges, and a clean bite that doesn’t collapse once cooled.
Step-By-Step: The Frozen-Butter Method
Start by freezing a block of unsalted butter for at least 30 minutes. In a chilled bowl, whisk together plain flour, a pinch of fine salt, and, if desired, a teaspoon of sugar for balance. Grate the frozen butter on the coarse side directly into the flour, tossing gently to coat every shard. Sprinkle in icy water—just enough to clump—plus a few drops of lemon juice or vinegar to nudge tenderness. Stop mixing the moment the dough holds together; visible butter is a feature, not a flaw. Press into a slab, wrap, and chill for 20–30 minutes.
On a lightly floured surface, roll into a long rectangle, then fold in thirds for a simple “letter” turn. Rotate 90 degrees, repeat, and chill again. Two to three rounds of rolling and resting build reliable lamination without fuss. Keep the dough cold and the workspace cool; if butter shows signs of softening, pause and refrigerate. Bake from cold in a thoroughly preheated oven—200–220°C generally suits—on a quality tray to promote even heat. The pastry should rise quickly, then bronze with a delicate, glassy sheen.
Common Pitfalls and How to Fix Them
Most failures trace back to temperature drift or overworking. If the dough feels tacky or the butter smears, chill everything—bowl, rolling pin, even flour. When in doubt, rest it out; five to ten minutes in the fridge rescues structure and flavour. If your layers slump, the oven was likely too cool or the dough too warm. Patchy colouring suggests uneven thickness or a warped tray. Toughness points to excess water or aggressive rolling that overdeveloped gluten; use a gentle hand and aim for just-cohesive hydration.
Choose flour around 10–11% protein for balance, and don’t skimp on fat quality—European-style butter with higher fat yields cleaner lift and fewer leaks. A brush of milk or egg wash helps colour, but keep it off edges to avoid sealing layers. For savoury bakes, chilling formed pastries before the oven encourages cleaner expansion and sharper definition. Below, a quick diagnosis table keeps troubleshooting practical.
| Problem | Symptom | Quick Fix |
|---|---|---|
| Butter smear | Greasy dough, little lift | Chill dough; reduce handling; use colder butter |
| Low rise | Flat layers, dense bite | Increase oven to 200–220°C; bake from cold |
| Tough texture | Chewy, tight crumb | Use less water; mix minimally; rest longer |
| Leakage | Butter pooling on tray | Add a brief chill before baking; check seam seals |
Harnessing the frozen butter method means embracing discipline: cold ingredients, restrained mixing, confident heat. The reward is a pastry with layered lift, clean architecture, and a flavour that tastes richer because steam, not brute force, did the heavy lifting. Keep butter solid, keep turns neat, and bake hot. With those rules, rough puff becomes reliable, pies stand tall, and breakfast pastries feel bakery-bought. What will you laminate first—a classic cheese straw, a seasonal fruit turnover, or a towering pie lid that crackles at the table?
Did you like it?4.5/5 (20)