In a nutshell
- 🧪 The science: A light dusting acts as a micro‑sponge and dry lubricant, absorbing only surface moisture so internal hydration stays intact, aiding gluten alignment and gas retention.
- 👐 The technique: Dust the bench and hands lightly for a translucent veil, use a bench scraper, add the least flour needed, include short rests, and brush off excess before proofing to avoid a chalky crust.
- 🌾 Smart flour choices: Plain flour is versatile; bread flour absorbs faster (use sparingly); rice flour excels for non‑stick bannetons; semolina aids sliding on peels; wholemeal adds flavour but its bran can nick gluten.
- ⚠️ Avoid mistakes: Don’t “fix” wet dough by kneading in cups of flour—manage the surface; pair light dusting with a touch of oil if needed, weigh ingredients, use an autolyse, dampen fingertips, and dust the bench, not the dough.
- 🎯 The payoff: Keep high hydration for flavour and an open crumb while gaining control—aim for tacky, not gluey—delivering cleaner shaping and a stronger oven spring.
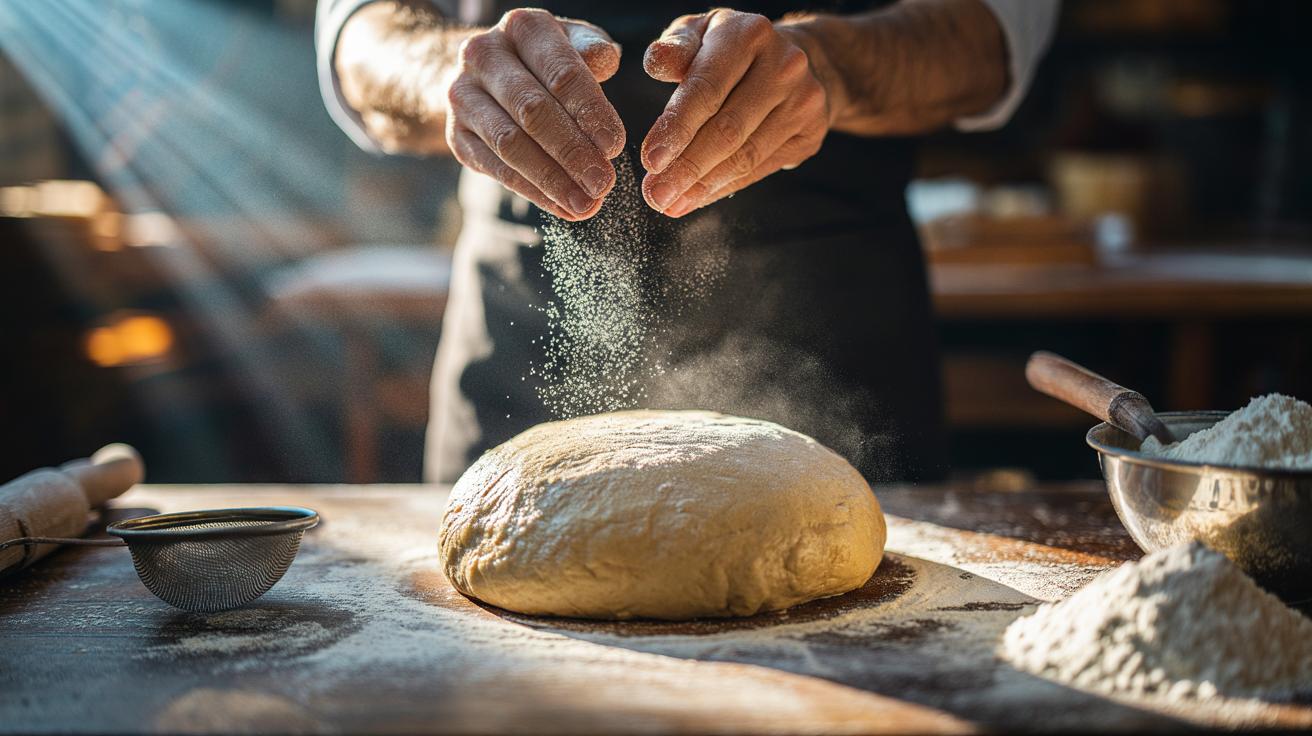
Every baker has met the stubborn cling of wet dough on worktops and fingers. The quickest cure is not more kneading or frustration, but a measured “flour dust” that transforms chaos into control. A light coating of flour doesn’t radically change your recipe; it creates a dry micro-layer that manages stickiness while leaving the dough’s core hydration intact. A light dusting draws off only the surface moisture, so the gluten network can strengthen rather than gum up. Used correctly, this trick boosts handling, preserves flavour, and protects texture. Below, learn the science, the method, and the smart flour choices that keep dough supple, elastic, and responsive—without tipping it into dense or chalky territory.
The Science Behind a Light Dusting
Sticky dough isn’t a flaw; it’s a sign of healthy hydration and active gluten formation. The problem is excess moisture at the surface, where friction is highest. A light dusting of flour acts as a tiny sponge and a dry lubricant at the same time. Starch granules on the bench absorb a thin film of water, while the particles reduce drag, so the dough slides rather than glues itself to your hands. By targeting only the surface, you maintain internal moisture—key for an open crumb and tender bite. This controlled barrier allows gluten strands to align during kneading, improving structure without tearing. The result is better elasticity, less tearing during shaping, and more consistent gas retention as fermentation progresses.
Crucially, the flour remains at the interface. The bulk of the dough stays at its intended ratio of flour to water, so flavour, oven spring, and crumb openness are preserved. It’s the difference between managing stickiness and accidentally rewriting your recipe.
How to Dust the Bench and Dough Properly
Start with a clean, dry surface. Lightly tap a sieve or shaker to lay down a fine veil of bench flour—aim for translucency, not snowdrifts. Place the dough on the floured patch, then dust your palms or fingertips. Lift and fold the dough, turning it a quarter turn with each motion. If sticking returns, flick on a pinch more. Use the least flour that prevents sticking—no more. A bench scraper helps lift edges cleanly and keeps flour from being kneaded into the interior.
Watch the sheen: a whisper of shine is good; dull and chalky means you’ve overdone it. For very wet doughs (ciabatta, high-hydration sourdough), dust the top before flipping, so the sticky face lands on flour. Rest periods also help; a short pause lets starch fully hydrate and gluten relax, reducing tackiness. When shaping, dust the board and the dough lightly, then brush off excess with a soft pastry brush before proofing to avoid a thick, floury crust.
Choosing the Right Flour for Dusting
Not all flours behave the same on the bench. Plain flour is the versatile choice for everyday dusting, while strong bread flour absorbs slightly more water and can toughen the surface if overused. Rice flour is notably non-stick and slow to absorb, ideal for bannetons and sticky doughs where you want release without tightening the skin. Semolina adds grit that acts like ball bearings—brilliant for peels when sliding pizza or focaccia into a hot oven. Wholemeal brings flavour but introduces bran that can cut gluten if kneaded in. Match the dusting flour to the task to control stick without compromising texture.
| Flour | Protein | Absorption Speed | Anti-Stick Ability | Best Use |
|---|---|---|---|---|
| Plain (all-purpose) | 10–11% | Moderate | Good | General bench dusting, shaping |
| Strong bread flour | 12–14% | Fast | Good | Kneading sticky bread doughs (sparingly) |
| Rice flour | Low | Slow | Excellent | Bannetons, high-hydration doughs, release |
| Semolina | 11–12% | Slow–Moderate | Very good | Pizza peels, crisp bases, sliding into oven |
| Wholemeal | 13–14% (with bran) | Moderate | Fair | Rustic loaves; use lightly to avoid rough crust |
Avoiding Common Mistakes and Fixing Sticky Situations
The biggest mistake is trying to “correct” a wet dough by adding handfuls of flour. Do not try to “fix” a wet dough by kneading in cups of dry flour—you’ll blunt fermentation, tighten the crumb, and lose flavour. Instead, manage the surface: dust lightly and use a bench scraper to fold cleanly. If the room is humid, keep a towel over your flour canister and dust smaller sections more often. Oily hands can help with enriched doughs, but oil creates slip without moisture control; pair a tiny oil film with a light flour dust for balance.
Plan for stickiness in the recipe stage. Mix by weight, not volume, and consider a brief autolyse to allow flour to hydrate, reducing tack before kneading. During stretch-and-folds, dampen fingertips slightly and dust the bench, not the dough, to avoid caking. When shaping, brush away loose flour so seams seal properly. Aim for tacky, not gluey: a dough that just releases from the bench is primed for structure and a proud oven spring.
A deft hand with bench flour turns sticky dough from a nuisance into an advantage, keeping hydration high for flavour and crumb while granting you the control to shape with confidence. Think of the dusting as a tool, not an ingredient change: it creates a breathable boundary that absorbs surface moisture and smooths friction without drying the loaf. With the right flour, a gentle touch, and a vigilant eye for sheen and feel, your dough will behave beautifully from knead to bake. What will you bake next to put the flour dust trick to work—an airy ciabatta, a blistered pizza, or a soft, enriched loaf?
Did you like it?4.5/5 (20)