In a nutshell
- 🌫️ Shows how evaporation and the vapour pressure deficit (VPD) drive a natural humidity lift, easing dry-air symptoms for people and plants.
- 🪴 Provides a clear setup: shallow tray, washed pebbles, water kept just below stone tops so pots stay dry; ideal sizes and placement near gentle warmth.
- 📍 Highlights best use: creates a local microclimate within 0.5–1 metre, ideal for ferns, calatheas, and orchids; track with a hygrometer and aim for 40–60% RH.
- 🧼 Covers upkeep: rinse weekly, descale with vinegar, refresh water every 2–3 days, and use distilled water in hard-water areas to prevent limescale and algae.
- ⚖️ Quantifies impact and value: expect about +3–7% local RH, with no electricity or noise, and guidance on when to add a second tray or switch to a humidifier.
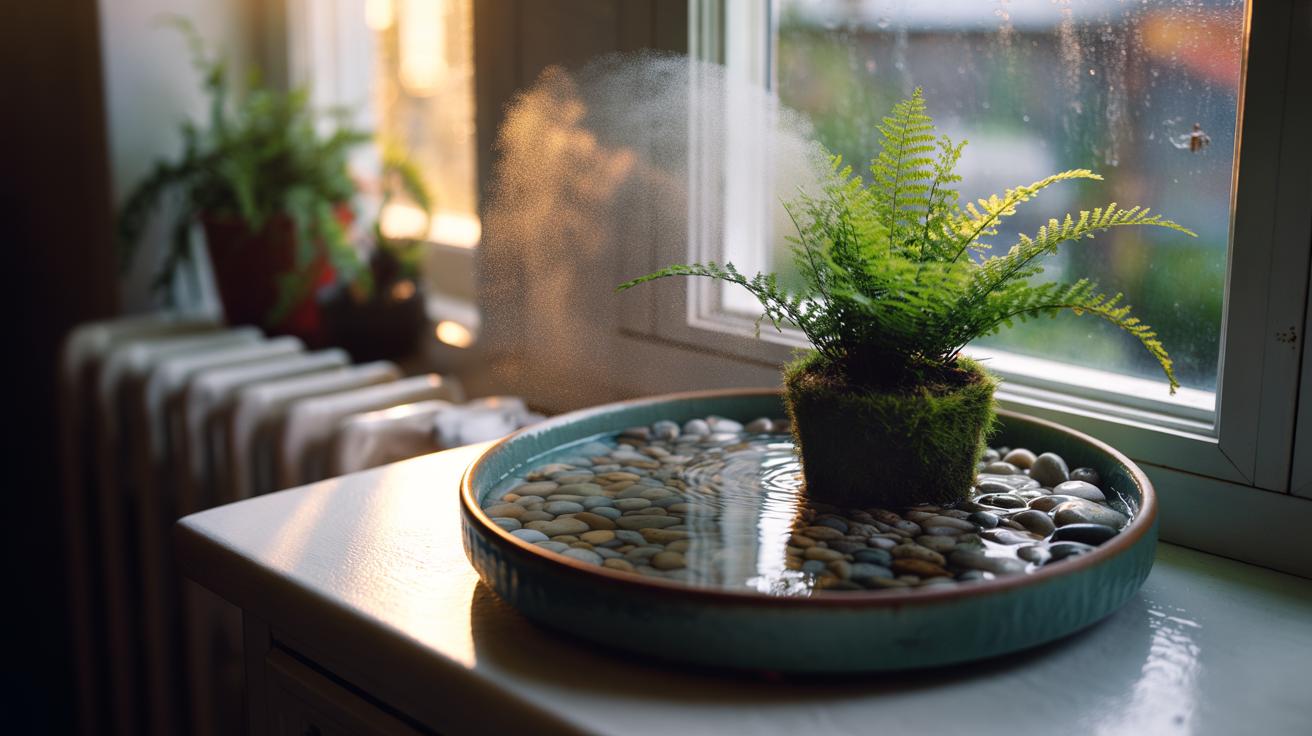
Central heating and sealed windows keep British homes warm, yet they also parch the air. Dry rooms invite static shocks, scratchy throats, and stressed houseplants. A humble pebble-tray offers a quiet, low-cost correction by nudging relative humidity back into a comfortable band. The method is disarmingly simple: a shallow tray, a layer of washed pebbles, and water that never quite touches the pot. As the surface slowly evaporates, it enriches the air immediately around your desk, windowsill, or fern collection. This is a local, natural fix that relies on physics rather than plugs, making it ideal for renters, plant-lovers, and anyone tired of the desiccating effects of modern heating.
How Evaporation Raises Indoor Humidity
Evaporation is the quiet traffic of water molecules moving from liquid to vapour. Indoors, the rate depends on temperature, air movement, and the vapour pressure deficit (VPD)—the gap between the moisture the air holds and what it could hold at that temperature. A pebble tray increases the evaporative surface area and breaks up the still air immediately above the water with its textured stones. By gently shrinking that deficit, the air feels less abrasive to skin, throats, and leaves. Crucially, the effect is strongest in the air column right above the tray, creating a microclimate where it’s most needed.
Place a tray below or beside plants and you amplify the benefit. Leaves transpire, the water surface evaporates, and together they lift local relative humidity by several percentage points. The pebbles keep the pot lifted, so roots stay dry while the air grows moister. Raising RH from 30% to around 45% can tame static and make rooms feel warmer without touching the thermostat, especially near radiators or sun-warmed sills where convection circulates that extra moisture.
Setting Up a Pebble Tray Step by Step
Choose a shallow, waterproof tray—ceramic, glazed terracotta, metal, or sturdy plastic—roughly the footprint of your plant group or workspace. Rinse a bag of aquarium-grade gravel or smooth river pebbles to remove dust. Pour a single layer into the tray and add water until the level sits just below the top of the stones. The pot must never sit in water; the pebbles are a pedestal, not a wick. Aim for about 1–2 cm of water depth for steady evaporation without splash risk. For a desktop plant or diffuser-less boost, a tray of 25–40 cm length works well.
Set the tray where gentle airflow passes—near a warm window, beside a radiator ledge, or on a shelf above a heat source, never on it. Grouping plants over a single tray concentrates the humidity bump and simplifies care. Top up when the water line drops below the pebble tops; let it drain entirely for a day each week to interrupt algae. Use distilled or filtered water in hard-water areas to limit limescale, keeping stones attractive and breathable.
Where a Pebble Tray Works Best
Pebble trays excel at creating a local oasis. They shine in the home office where dry eyes and static abound, on a bedroom nightstand to temper arid heating, and under humidity-loving plants—think ferns, calatheas, and orchids. Expect a measurable rise within roughly a 0.5–1 metre radius; beyond that, dilution dominates. This is not a whole-room humidifier, but for the microenvironment you actually inhabit—your keyboard, your face, your ficus—it’s a deft solution. Pairing with a small fan on its lowest setting can distribute moisture without chilling the room.
Results vary by building envelope and season. In a tightly sealed flat, gains can be stronger because air turnover is low. Near leaky sash windows, the effect is gentler, though warm sunlight crossing the tray accelerates evaporation. Keep a simple hygrometer nearby. Target 40–60% relative humidity to balance comfort with mould and dust-mite control—a sweet spot that makes timber less prone to cracking and houseplants less prone to crispy tips.
Maintenance, Hygiene, and Measured Results
Cleanliness maintains performance. Rinse pebbles weekly and scrub the tray monthly with a vinegar solution to dissolve mineral scale. Replace water every two to three days to deter biofilm; in sunny windows you may need daily top-ups. If green algae appears, a longer vinegar soak and a full dry-out reset the system. For sensitive lungs, skip scented additives. A cheap digital hygrometer reveals what your eyes can’t: most households see a 3–7 percentage point RH lift near a tray, which can be the difference between brittle and buoyant air on sharp winter days.
Costs are negligible—no electricity, pennies for stones, and tap water. Electric humidifiers move more moisture but add noise, cleaning chores, and power draw. The table below summarises typical outcomes so you can gauge expectations and decide whether to add a second tray or step up to an appliance if your room is exceptionally dry.
| Room Conditions | Evaporation per Day | Local RH Boost | Notes |
|---|---|---|---|
| 20°C, radiator nearby, low airflow | 150–300 ml | +5–7% | Best-case for pebble trays |
| 18°C, shaded corner, moderate airflow | 100–200 ml | +3–5% | Stable, quiet uplift |
| Drafty window, cooler than 17°C | 80–150 ml | +2–3% | Consider a second tray |
The pebble-tray is a journalist’s favourite kind of home fix: low-tech, low-cost, and high impact where it counts. By exploiting evaporation and smart placement, it restores comfort to parched corners and helps houseplants thrive without soaking their roots. Silent operation and zero energy draw make it an elegant counter to dry winter air, and a useful complement even in homes with humidifiers. If you tried it this week—one tray by the kettle, another beneath your fern—where would you place them first, and what would you hope to change: your comfort, your plants, or the static crackle in your day?
Did you like it?4.5/5 (26)