In a nutshell
- 🧊 The ice method uses water’s ~9% expansion as it freezes to apply uniform, gentle pressure that relaxes leather collagen fibres without creasing or cracking.
- 🧭 Precision steps: place a sealed water pouch at the hotspot, bag the shoe, freeze for 4–6 hours, thaw 10–15 minutes, test, and repeat in small increments; finish with shoe trees to set shape.
- 🥾 Material matters: best for full‑grain leather and calf; avoid suede, patent, synthetics, and waterproof‑lined boots due to staining, cracking, or minimal stretch.
- 🧴 Aftercare essentials: wipe condensation, air‑dry only (never heat), condition lightly, and use cedar shoe trees; consider stretchers or a cobbler for broader adjustments.
- ✅ Outcome: subtle, lasting relief at the toe box or vamp while preserving silhouette—patience and precision prevent over‑stretching and keep finishes pristine.
New shoes can pinch, rub, and distract from the simple joy of stepping out in style. There is a quiet, home-friendly fix that many stylists swear by: the ice method, which harnesses water’s expansion as it freezes to coax leather to give. Instead of wrenching at stiff uppers, you apply slow, even pressure where it matters. Gentle expansion beats brute force every time. This approach, when used correctly, respects the structure of quality leather, softening tight points without scarring the finish. Below, I unpack the science, the careful steps, and the caveats, so you can stretch tight spots with confidence and keep that out‑of‑the‑box polish intact.
Why Freezing Expands Leather Gently
At the heart of this trick is a simple physical truth: water expands by roughly nine per cent when it transitions to ice. Inside a shoe, that expansion becomes a uniform, low-intensity pressure that nudges collagen fibres in leather to relax and re-set. Unlike manual force or high heat, which can crease, crack, or delaminate finishes, cold expansion delivers pressure evenly and predictably. Because the ice takes the shape of its container, it conforms to your toe box or vamp, pushing where you need space and leaving the rest undisturbed.
Leather is a natural composite, and those collagen bundles can be encouraged to move without damage if the pressure is gradual. The freezer provides that slow shift, holding the leather at tension until the fibres adjust. As the ice thaws, the shoe retains a subtle, permanent gain in volume at the pressure point. This is why a single, patient session often beats repeated wear that risks blisters and sore spots.
Step-by-Step: The Ice Cube Method for Tight Spots
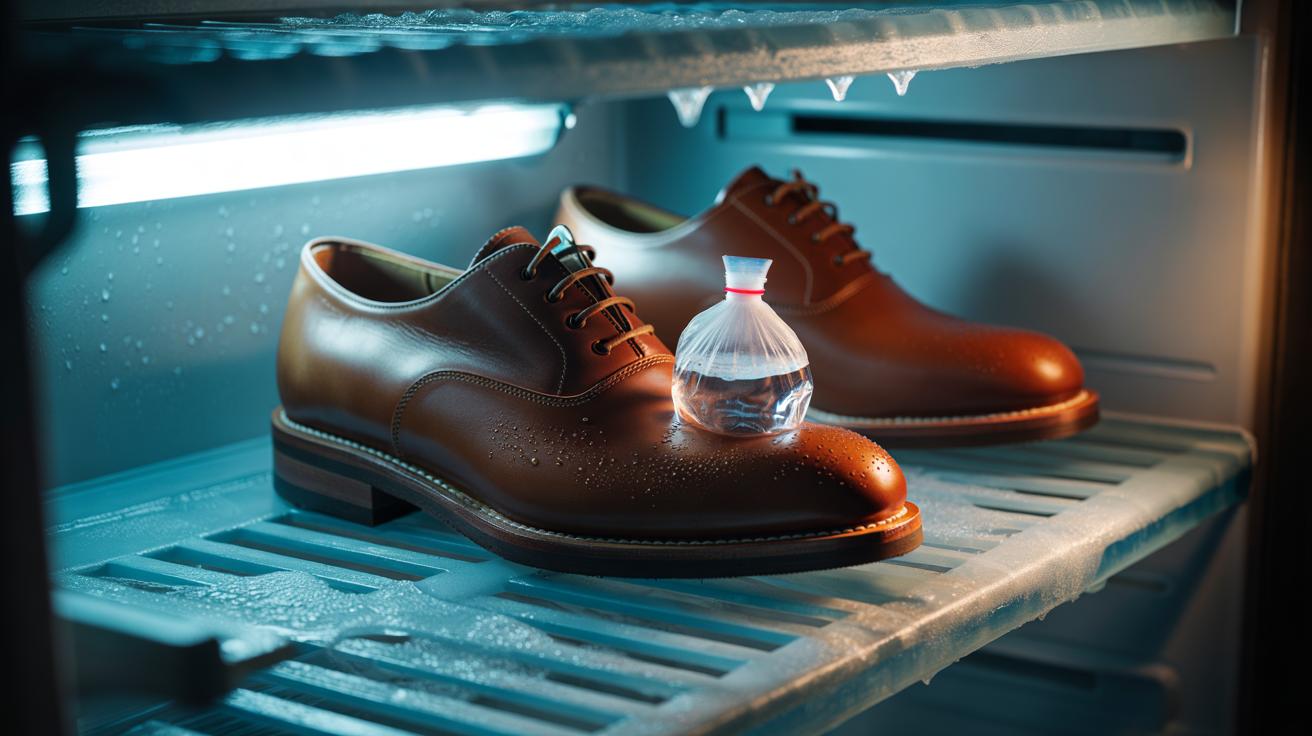
Targeting a small hotspot calls for precision. Take a sturdy, sealable mini bag and add enough water to form a compact “cube” once frozen; expel air and seal. Slip the bag into the shoe exactly where it pinches—often the little-toe knuckle or the big toe’s medial edge. To protect the leather, place the whole shoe in a larger freezer bag to guard against condensation. Do not submerge or wet the shoe. Positioning is everything: press the water pouch into the tight area so the expansion works precisely there.
Set the shoe in the freezer for four to six hours; overnight is fine for thicker uppers. The water freezes, expands, and gently pushes the leather. Remove the shoe, let it warm for 10–15 minutes, then extract the bag. Try the fit. If the hotspot has eased but needs more give, repeat with slightly more water. Small increments prevent over-stretching and keep the shoe’s silhouette crisp. Finish by inserting shoe trees for a few hours to stabilise the new shape.
Which Shoes Benefit—and Which to Avoid
The ice technique shines on quality full‑grain leather and many calfskin dress shoes, where structured uppers respond well to measured pressure. It’s helpful for toe boxes on loafers, Oxfords, and court shoes, and for easing a tight vamp without warping the counter. Avoid materials that dislike moisture or extreme cold: suede can stain from condensation, patent finishes may craze, and coated synthetics often don’t “give” at all. Footwear with waterproof membranes or heavy adhesive construction can also be sensitive to temperature changes.
As a quick reference, consider the following suitability notes before you start:
| Material | Expected Result | Notes |
|---|---|---|
| Full-grain leather | Good, controlled stretch | Best candidate for toe box easing |
| Suede/Nubuck | Unreliable | Risk of water marks; proceed only with superb protection |
| Patent leather | Poor | Finish may crack under cold stress |
| PU/synthetic | Minimal | Material lacks stretch memory |
| Fabric/Mesh | None | Technique not applicable |
| Waterproof-lined boots | Risky | Cold can stress glues and membranes |
Care, Aftercare, and Alternatives
Once you’ve achieved the desired stretch, give the shoes time to normalise. Wipe away any condensation immediately and let them air dry at room temperature. Never accelerate drying on a radiator or with a hairdryer; heat can shrink leather and weaken adhesives. Apply a light leather conditioner to restore suppleness and guard against micro-cracking, then brush to a soft sheen. Insert cedar shoe trees overnight to set the new volume and absorb residual moisture. These simple steps preserve the gains you’ve made and prolong the shoe’s life.
If your pair needs broader adjustment, consider a mechanical shoe stretcher with spot plugs for bunion areas, or a professional cobbler’s stretching service paired with a mild stretch spray. The thick-sock-at-home break‑in can work for slight tweaks, but listen to your feet—pain is a warning. A measured approach avoids misshaping the quarters and keeps welt lines clean. Think in millimetres, not centimetres, and repeat brief sessions rather than one aggressive push.
Handled thoughtfully, the ice cube method delivers subtle, lasting relief exactly where your shoes nip. It respects the craft of well‑made leather while prioritising comfort, allowing new pairs to become daily favourites without the ordeal of blisters. If in doubt, start small, protect the finish, and stabilise the result with conditioning and shoe trees. Precision and patience are the difference between a perfect fit and a warped upper. Where do your shoes pinch most, and how might you adapt this technique to target those pressure points with surgical accuracy?
Did you like it?4.5/5 (28)