In a nutshell
- 🔥 Heat softens pressure‑sensitive adhesives (PSAs) near their glass transition temperature (Tg), reducing adhesion and stiffness so labels peel cleanly without tearing.
- 🛠️ Use low, controlled heat (5–10 cm away for 20–40 s), lift a corner, and peel at a low angle, reheating in short bursts whenever resistance returns.
- 🧪 Follow surface‑specific settings: about 40–60°C for glass/metal, gentler heat for plastics, paint, and wood; keep air moving to avoid warping or finish damage.
- 🧼 Clear residue while warm by rolling it off; for stubborn spots, use isopropyl alcohol (glass/metal) or citrus‑based removers, always testing first.
- ⚠️ Prioritise safety and troubleshooting: avoid vents and batteries on electronics, treat vinyl decals cautiously, use multiple short heat cycles, and test discreetly before committing.
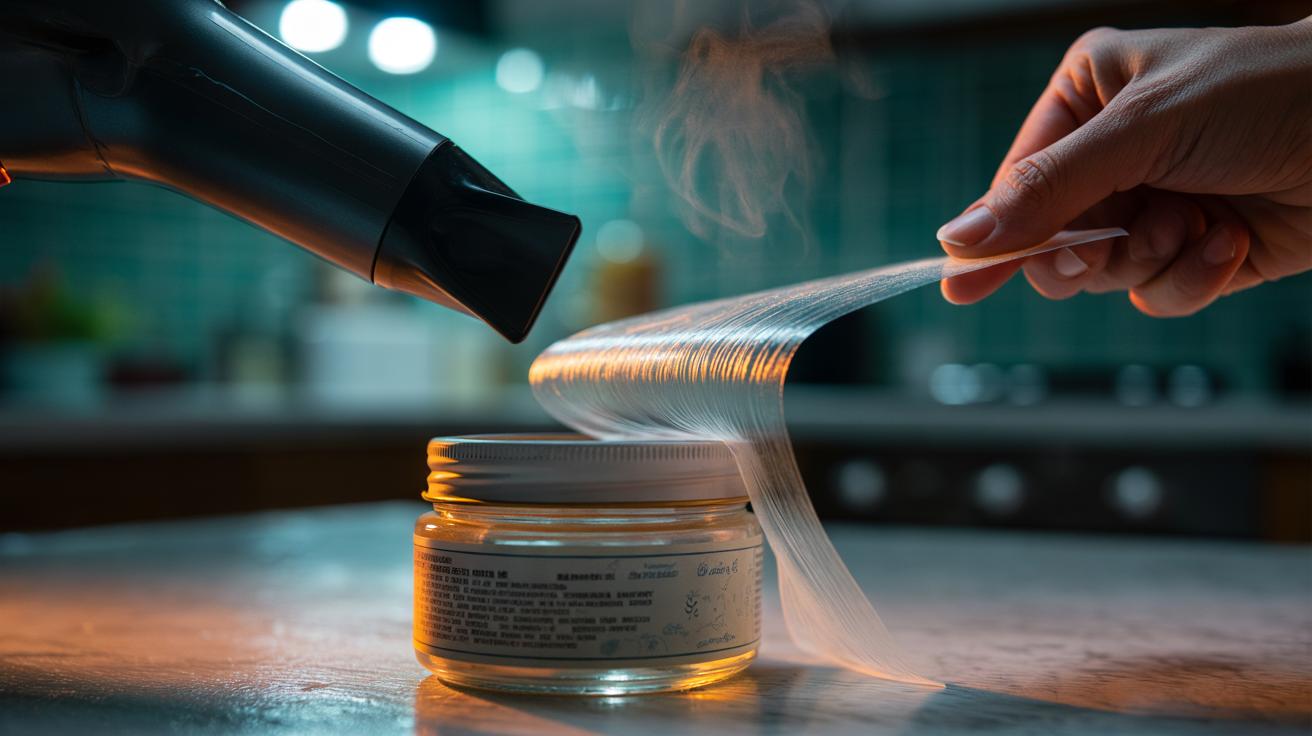
The humble hairdryer has become the secret weapon of label lovers and renters alike: a quick blast of warmth, and suddenly that stubborn price tag slides away without leaving a ragged mess. This isn’t magic; it’s materials science at home. Heat helps the glue release cleanly by reducing its grip, protecting both the sticker and the surface beneath. Used with care, the method works on glass jars, laptops, bottles, painted metal, and even wood. The key is controlled heat and patience. Here’s how a household hairdryer turns sticky failures into satisfying peels—and how to avoid melting plastics, marking paint, or smearing residue as you go.
How Heat Loosens Sticker Glue
Most labels use pressure‑sensitive adhesives (PSAs)—viscoelastic polymers that bond when pressed. At room temperature they balance stickiness with firmness. Warm them slightly and that balance shifts: chains in the polymer move more freely, the glue softens, and its grip on the surface relaxes. In materials terms, you’re nudging the adhesive toward its glass transition temperature (Tg). Below Tg, glue behaves rigidly; near it, the adhesive becomes flexible and peelable. Crucially, the label face—paper, vinyl, or film—also gains pliability, resisting the tearing that plagues cold peeling.
The result is twofold. First, softened adhesive can be “cohesively” removed: it comes away as a continuous sheet rather than shearing into gum. Second, the warmed label backing carries the stress evenly as you pull, so corners lift smoothly. Heat reduces both adhesion to the surface and internal stiffness, giving you time to work slowly without ripping. The trick is to heat the adhesive layer, not to scorch the label.
Finding the Sweet Spot: Temperature, Time, and Distance
Domestic hairdryers are blunt tools compared with heat guns, but that’s a benefit for delicate surfaces. Aim for gentle, even warming rather than a blast. Hold the nozzle 5–10 cm from the label and sweep in small circles for 20–40 seconds. Low, controlled heat is safer than high bursts. On most containers and laptops, 40–60°C is sufficient. Glass and metal tolerate a bit more; thin plastics and lacquered wood demand less. You’re watching for the moment the label edge lifts with minimal resistance—heat, test, and reheat as needed.
Keep airflow moving so you don’t warp plastic or bubble finishes. If the label feels rubbery and pliant, you’re there. If it smells hot or the surface turns glossy, pause. Never heat near vents, batteries, or solvent finishes. For thicker vinyl decals, two or three warm cycles are better than one long bake, letting heat soak into the adhesive layer without overheating the surface.
| Surface | Suggested Setting | Notes |
|---|---|---|
| Glass / Metal | Medium heat, 8–12 cm, 30–60 s | Can handle higher temperatures; avoid heating contents. |
| Hard Plastics (ABS, polycarbonate) | Low–medium, 10 cm, 20–30 s | Watch for softening or gloss change; pause if warm to the touch. |
| Painted / Lacquered Surfaces | Low heat, 10–15 cm, 15–25 s | Test in a hidden spot; don’t exceed lukewarm. |
| Wood (sealed) | Low heat, 12–15 cm, 15–25 s | Risk of finish imprint; lift slowly and reheat in short bursts. |
Step‑by‑Step: The Hairdryer Method for a Clean Peel
Start with a clean, dry surface. Warm the label evenly. When it’s flexible, slip a fingernail or a plastic card under one corner. Peel at a low angle—around 10–20 degrees—while keeping gentle tension. If you feel snagging, stop, reheat for 10 seconds, and continue. This keeps the adhesive cohesive and the backing intact. For paper labels, support the lifted edge with the card to prevent shredding.
As the label releases, you’ll often see the adhesive staying with the backing—ideal. If residue remains, roll it with your thumb while the area is warm; softened glue balls up rather than smearing. Stubborn patches respond to a dab of isopropyl alcohol on glass/metal or a citrus‑based remover on tough PSAs. Always test solvents on paint and plastics. A slow, low‑angle pull beats brute force every time. Finish by wiping the surface with a mild detergent solution to remove plasticiser or oil traces.
Troubleshooting Sticky Problems and Special Cases
If a paper label tears, it cooled mid‑peel or the paper is brittle. Reheat through the paper and use a card to lift the remaining layer in strips. For old decals where the adhesive has cross‑linked, apply multiple short heating cycles and “score” the sticker surface lightly with a craft blade to let warmth reach the glue. Vinyl graphics on cars need extra caution: low heat only, steady motion, and immediate cleaning to avoid ghosting. Always test on a discreet area.
On electronics, avoid heating over vents, screens, or batteries. Warm the label edge only and shield the device with your hand as a heat barrier. For varnished wood or matte paints, keep temperatures low and switch to adhesive eraser wheels or a rubber cement pick‑up if you see finish imprinting. If adhesive smears, you’ve overheated it: pause, let it cool slightly, then try rolling the residue at a warm, not hot, temperature. The goal is soft, not liquid.
The hairdryer trick works because it respects chemistry: soften the bond, reduce stress, and peel with intent. With a little patience and a steady hand, labels come off in one satisfying sweep, and surfaces are spared sanding, scraping, or solvents. Test, warm, lift, reheat, and clean—that sequence turns even tenacious stickers into easy wins. From jam jars to laptops, the method scales, and the same principles apply to larger vinyls with a bit more time. Which item in your home will you try first—and what surface challenges would you like to crack with a carefully aimed burst of warm air?
Did you like it?4.5/5 (21)