In a nutshell
- ⚗️ Chemistry at work: baking soda + hot water with optional aluminium foil triggers an electrochemical reduction that converts silver sulphide back to silver; the gentle fizz signals action without abrasion.
- 🧪 Simple method: Use 1 tbsp per 250 ml hot water, line the bowl with foil (shiny side up), ensure pieces touch, soak 2–5 minutes, then rinse, dry, and buff; choose short, repeated treatments over long soaks.
- 🔒 Safety first: Avoid soaking porous gems (pearls, opal, turquoise), enamel, and glued settings; use warm—not boiling—water for mixed materials; be cautious with silver-plated jewellery and spot-test delicate pieces.
- 📊 Quick tuning: Adjust ratios, timing, and temperature for light vs heavy tarnish; add foil for stubborn build-up and replace spent solution if results stall.
- ✨ Fast results: The process preserves detail and hallmarks, restores crisp shine in minutes, and relies on chemistry, not elbow grease, for a clean, mirror-bright finish.
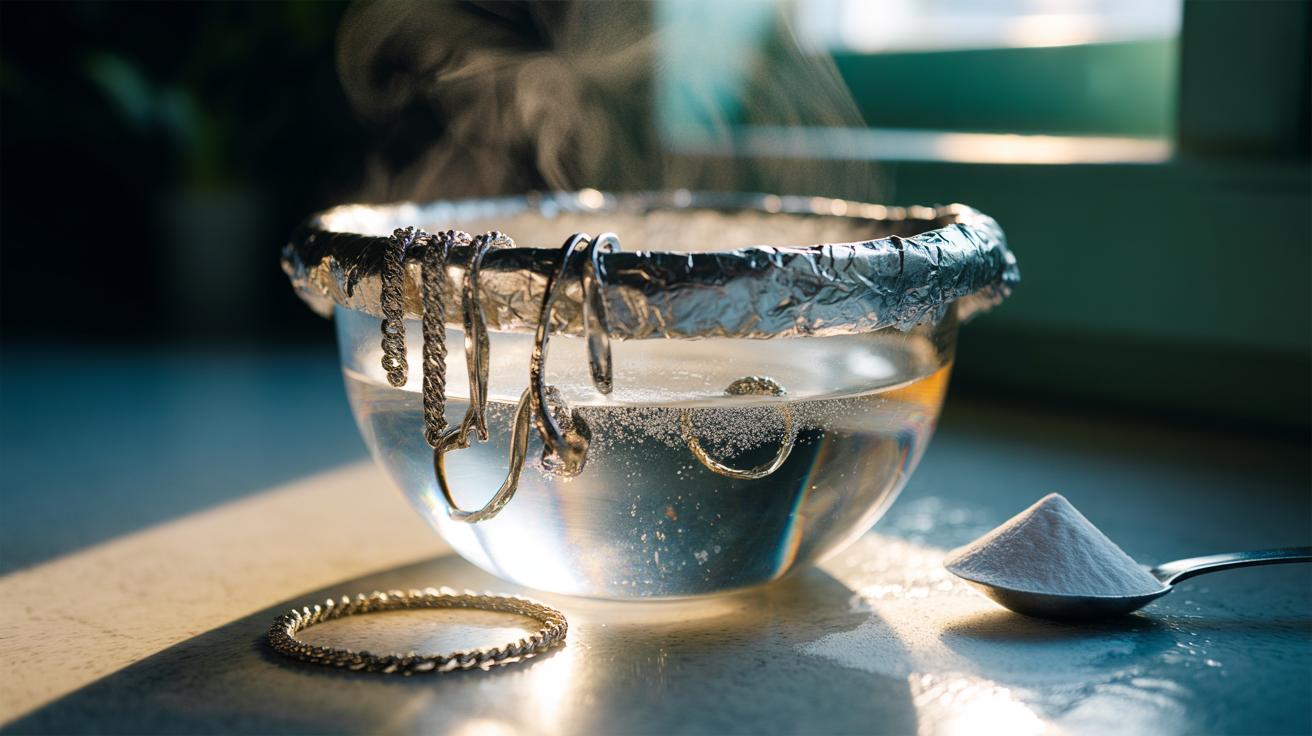
Few household fixes rival the quiet satisfaction of watching dull silver snap back to life. A simple mix of baking soda and hot water creates a remarkably effective bath that loosens grime and tackles tarnish in minutes. Add a sheet of aluminium foil and the transformation often quickens, with a gentle fizz that signals chemistry at work. This simple kitchen combo reverses tarnish without harsh scrubbing, making it a go-to for chains, bangles, and cutlery dulled by air, humidity, and sulphur in everyday environments. Used correctly, it’s safe, inexpensive, and astonishingly fast. Below, you’ll find the science, the method, and the fine print that keeps heirlooms intact and sparkle levels high.
How Baking Soda Lifts Tarnish Fast
Tarnish on silver is mainly silver sulphide (Ag2S), formed when silver meets trace sulphur compounds. A warm solution of sodium bicarbonate provides an alkaline electrolyte that helps loosen residues while supporting a redox swap when aluminium foil is present. In that exchange, aluminium gives up electrons, reducing silver sulphide back to metallic silver — the dark layer lifts, reveal shines beneath, and the by-products remain in the bath. The slight effervescence you may notice comes from heat-activated bicarbonate and surface reactions; it’s often subtle, but reassuring. The method cleans chemically rather than by abrasion, so detail and hallmarks remain crisp.
Crucially, the bath works because bicarbonate is gentle yet conductive, allowing ions to move freely. Hot water accelerates the process, but avoid a rolling boil for delicate items. If you prefer to skip foil, the mix still loosens dirt and light tarnish; for heavier blackening, foil significantly cuts time and effort. Fast results come from chemistry, not elbow grease.
Step-By-Step: The Gentle Fizz Method
Gear: heatproof bowl, hot water (just off the boil for plain silver; warm for stones), baking soda, optional aluminium foil, soft cloth. Ratio: about 1 tablespoon baking soda per 250 ml water. For stubborn tarnish, line the bowl with foil, shiny side up. Place pieces so they touch the foil, then pour in hot water and sprinkle in the baking soda so it dissolves quickly. A faint fizz may appear as the bath activates. Leave 2–5 minutes, agitating gently.
Lift items with tongs, rinse under warm running water, and dry immediately with a lint-free cloth. Finish with a quick buff using a dedicated silver cloth to revive lustre. Do not soak soft stones, pearls, shell, or glued settings; instead, wipe those pieces with a damp cloth and polish the metal only. Avoid abrasive scrubbing, which can blur edges and thin plated layers. If tarnish persists, repeat briefly rather than extending a single long soak.
When This Method Shines — And When It Doesn’t
This approach excels on sterling silver chains, plain bands, charm bracelets, and cutlery that have yellowing or light-to-moderate black tarnish. It’s also ideal when you want to preserve crisp detail and avoid the micro-scratches of paste polishing. Add foil for an electrochemical boost on pieces with heavy sulphide build-up. Choose warm, not boiling, water for items with mixed materials and always dry thoroughly to prevent watermarks.
Avoid soaking porous gems (turquoise, opal, pearl, coral, lapis), enamel, and pieces with intentionally oxidised recesses you wish to keep dark. For silver-plated jewellery, proceed briefly and gently; prolonged exposure may reveal base metal if plating is thin. Where grime is the main issue, a bath of mild washing-up liquid followed by a baking soda dip often gives the best clarity. If residue looks cloudy after cleaning, a fresh water rinse and a clean microfibre cloth usually restore brilliance. When in doubt, test on an inconspicuous spot first.
Quick Reference: Ratios, Timings, and Suitability
Use these at-a-glance guidelines to tune the bath to your piece. The aim is speed with minimal risk: keep sessions short, water hot rather than boiling for most jewellery, and finish with prompt drying. Short, repeated treatments are safer than one long soak, especially for plated items or mixed settings. If you can’t remove stones, keep the head above the bath and dip metal only. Clarity improves when you control time, temperature, and contact with foil.
| Setting | Mix Ratio | Time | Best For | Avoid On | Optional Booster |
|---|---|---|---|---|---|
| Standard soak | 1 tbsp baking soda per 250 ml hot water | 2–5 minutes | Light tarnish on sterling | Pearls, porous gems | None |
| Heavy tarnish | 2 tbsp per 250 ml hot water | 3–7 minutes (check at 3) | Dark sulphide layers | Thin plating | Aluminium foil liner |
| Quick refresh | 1 tsp per 250 ml warm water | 60–90 seconds | Daily wear film, chains | Antique patina you want to keep | None |
If results stall, replace the solution; spent baths become less effective. Always rinse with clean water and dry immediately. For museum-grade pieces, consult a conservator before any home cleaning. Gentle chemistry beats harsh rubbing every time.
Handled with a touch of care, the baking soda and water method returns silver to crisp, mirror-bright form in the time it takes to brew a tea. It’s cheap, quick, and kinder than scouring, especially when the aluminium-boosted bath reverses tarnish at the surface rather than grinding it away. Keep sessions short, protect vulnerable stones, and finish with a soft cloth for a lasting gleam. A little planning makes a big difference. What favourite piece are you most keen to revive — and how will you adapt the ratio, heat, and timing to suit its story and setting?
Did you like it?4.4/5 (23)