In a nutshell
- 🍓 The cold spoon test rapidly cools a blob of jam to reveal the wrinkle stage, a visible crease that confirms a stable set and complements the thermometer’s setting point reading.
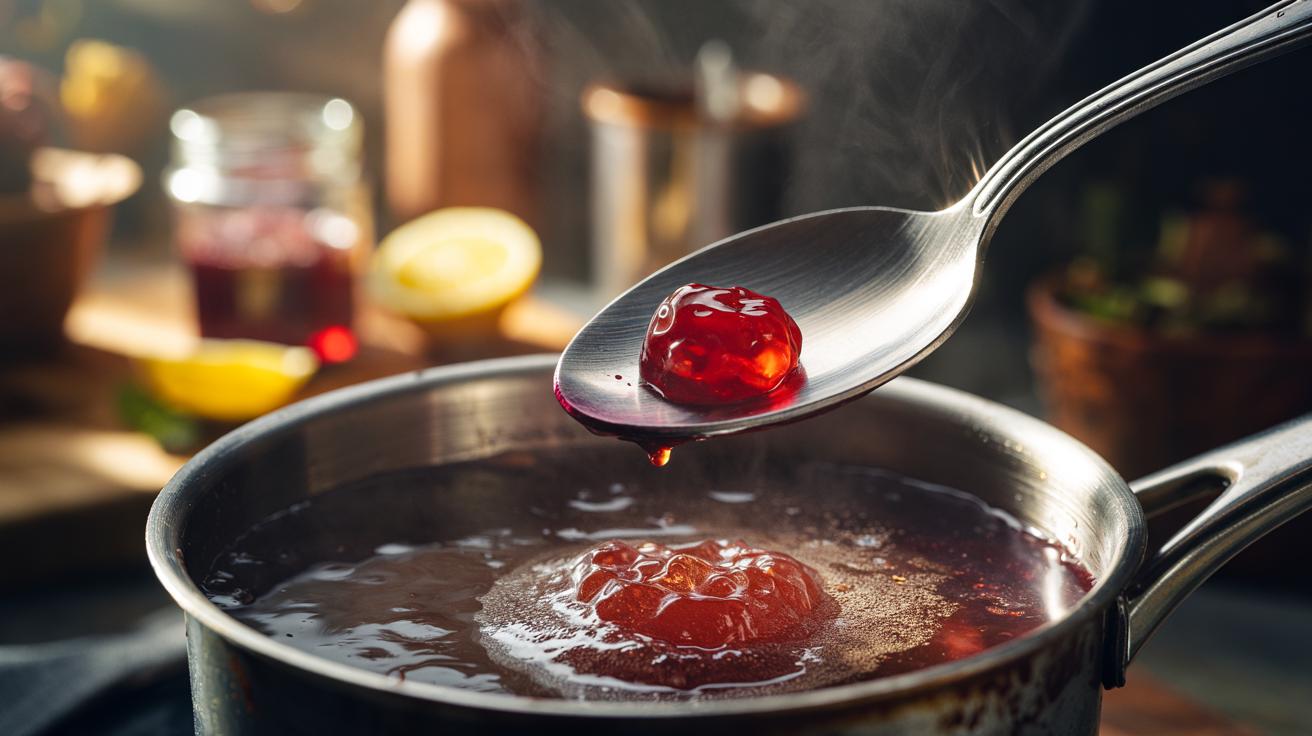
- 🥄 Method: freeze teaspoons, boil fruit-sugar-acid to a lively boil, dip for a pea-sized blob, wait 10–15 seconds, then nudge; if it wrinkles, jar it, otherwise boil in 1–2 minute bursts and retest to avoid over-set.
- 👀 Reading the signal: a soft crease with gentle resistance means ready; a sliding blob means under-set; a stiff ridge signals borderline overcooked—trust the wrinkle over numbers.
- 🛠️ Troubleshooting: boost acid balance with lemon, add pectin, or blend low-pectin fruit with high-pectin partners; if overset, thin with hot water or juice and keep jars sterilised and warm.
- 🧪 Why it works: the test reflects the pectin–sugar–acid network forming a gel, translating chemistry into texture and mouthfeel that hold across different fruits.
Perfect jam hinges on one deceptively simple moment: knowing when the shimmering boil has turned into a set that will hold its shape on toast. For generations in British kitchens, the cold spoon test has been the quick, thrifty way to catch that moment without fancy gadgets. By cooling a drip in seconds, it reveals the tell-tale wrinkle stage—a tiny, visible crease that signals a stable gel. It’s the small act that prevents cloudy, runny jars or tough, overcooked preserves. Below, we unpack why the test works, how to run it with confidence, and the small adjustments that guarantee a consistent set every time, even with tricky, low-pectin fruit.
What the Cold Spoon Test Actually Measures
The cold spoon test is a fast readout of the jam’s pectin-sugar-acid network at the exact moment it cools. When jam boils, water evaporates and sugar concentration rises, drawing pectin strands together into a gel matrix. A chilled metal spoon drops the temperature of a small blob immediately, showing how that matrix behaves at room temperature. If the gel is weak, the blob will slide cleanly; if it is ready, the blob creases. That visible crease—known as the wrinkle stage—is the home cook’s green light.
While a thermometer points to the classic “setting point” of about 105°C, the spoon reveals texture and spreadability—qualities you actually taste. The test also accounts for fruit quirks: berries with modest pectin, peaches with more water, and apples that set quickly. By reflecting both chemistry and mouthfeel, the spoon becomes your most reliable gauge—no lab kit required.
How to Perform the Cold Spoon Test, Step by Step
Begin by placing three clean teaspoons in the freezer for at least 10 minutes. Keep a small saucer in there too if you want a backup check. Simmer fruit, sugar, and acid (lemon juice helps pectin) until a lively, uniform boil. After about 5–8 minutes for high-pectin fruit—or 10–15 for softer fruit—stir well and remove the pan from heat to halt carryover cooking. Dip a frozen spoon into the bubbling jam, gather a pea-sized blob, then hold the spoon horizontally for 10–15 seconds.
Now, nudge the blob with your fingertip or a second spoon. If the surface creases neatly rather than slipping off, you’ve reached the wrinkle stage. If it slides or beads into syrup, return the pan to heat and boil in 1–2 minute bursts, testing with fresh chilled spoons between rounds. Stop the boil the instant a clear wrinkle appears—each extra minute pushes you toward over-set, rubbery jam. Work briskly: small samples cool fast and tell the truth.
Reading the Wrinkle Stage With Confidence
The wrinkle is a texture signal: a skin forms on the cooled blob and, when nudged, folds rather than tears. Look for a satin sheen and a gentle resistance. If it breaks like syrup, the gel network is still underdeveloped. If it stands in stiff ridges, you may be on the cusp of overcooking. Trust the wrinkle you can see and feel—the spoon translates chemistry into a moment you can judge with your eyes.
| What You See | What It Means | Action |
|---|---|---|
| Blob slides cleanly, no crease | Insufficient gel formation | Boil 1–2 minutes more, retest |
| Soft crease, slow movement | At or near set | Jar now; recheck once if unsure |
| Stiff ridge, matte surface | Borderline over-set | Jar immediately; consider thinning |
A thermometer reading near 105°C supports your call, but the spoon shows texture at eating temperature. When in doubt, prioritise the wrinkle over the number.
Troubleshooting and Adjustments After the Test
If the wrinkle doesn’t appear, extend the boil in short bursts to reduce water or fortify the recipe: add a squeeze of lemon for acid balance, or stir in a small measure of commercial pectin according to packet guidance. For very low-pectin fruit—strawberries, cherries—pre-mixing with a high-pectin partner like apple or gooseberry can stabilise the set. Small, measured changes beat long, aggressive boils that risk caramel notes and dulled fruit.
Over-shot the set? Take the pan off heat, stir in a splash of hot water or strained juice, and test again on a fresh cold spoon until the crease relaxes. Keep jars sterilised and warm so hot jam doesn’t shock the glass. In the UK, altitude adjustments are minimal, but damp days can slow evaporation—budget an extra test or two. Your aim is repeatable texture: a gentle crease, bright flavour, and a spread that holds but still yields.
From hedgerow brambles to a crate of Seville oranges, the cold spoon test gives you a calm, repeatable checkpoint in the rush of a rolling boil. It translates sugar science into a simple gesture and broadcasts the exact second your jam should leave the heat. Watch for that clean, confident wrinkle, and you’ll bottle gleaming jars that set beautifully without losing fruit character. Next time you simmer a pan of fruit, will you reach for the thermometer first—or will the chilled spoon become your favourite signal for the perfect set?
Did you like it?4.3/5 (29)