In a nutshell
- 💧 A rice water rinse coats strands with amino acids, vitamins, and inositol, reducing friction and breakage so hair appears thicker in 14 days—it boosts cosmetic fullness, not new growth.
- ⏳ Make it by soaking or boiling rice; optionally ferment 24–48 hours. Use diluted (1:3–1:5) after shampoo, leave 5–10 minutes, rinse, and condition; start with two rinses a week and patch test first.
- 🔬 History and lab hints align: traditional East Asian use plus evidence that inositol adheres to fibres, smoothing cuticles and cutting mechanical damage; benefits are real but cosmetic, not curative.
- ⚠️ If you’re low-porosity, protein-sensitive, or have a rice allergy, proceed cautiously or avoid; dilute more if hair feels stiff, clarify occasionally, and stop if irritation occurs.
- 🧭 Pro tips: refrigerate for up to a week, add citrus or rosemary for scent, focus application at roots/mid-lengths, and pair with gentle drying; expect less breakage, better slip, and fuller-looking hair by day 14.
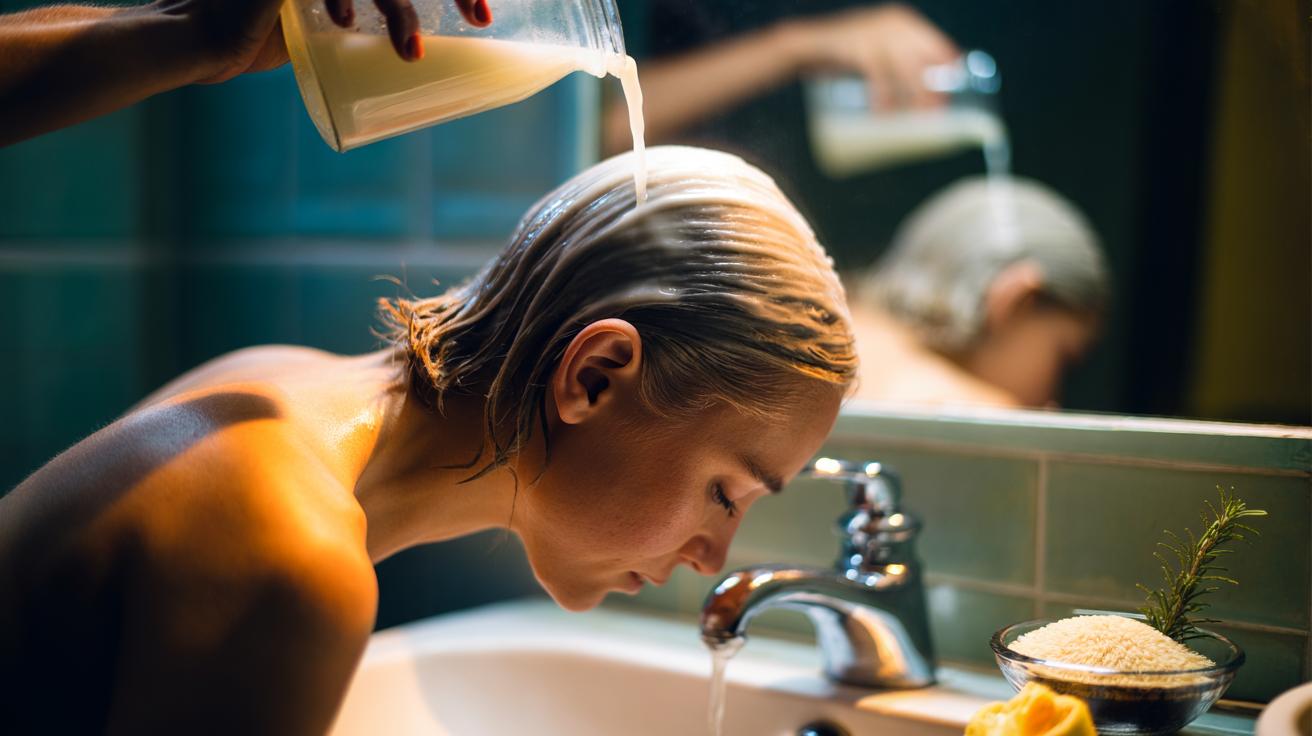
There’s a quietly radical hair ritual doing the rounds on British bathroom shelves, and it costs pennies. A simple rice water rinse—the starchy liquid left after washing or soaking rice—has become the go-to trick for people seeking a fuller-looking mane without a pricey salon programme. Fans insist it thickens the look of thinning hair in as little as 14 days, crediting its cocktail of amino acids, vitamins, and the celebrated carbohydrate inositol. Stylists may champion advanced in-salon treatments, yet this homespun method is winning converts for its speed, accessibility, and low risk. Used correctly, it can enhance shine, reduce breakage, and make fine strands feel denser to the touch, a welcome quick win while longer-term growth plans take shape.
What Is a Rice Water Rinse and Why the Buzz
A rice water rinse is the diluted, starchy liquid obtained from rinsing, soaking, or boiling rice. It’s naturally rich in amino acids, B vitamins, minerals, and especially inositol, a compound that can cling to the hair shaft. When applied after shampooing, this light film helps reduce friction and smooth the cuticle, so strands tangle less and snap less. The cumulative effect over two weeks can be visible: hair behaves better, reflects light more evenly, and feels slightly plumper. It makes hair appear thicker by coating and protecting each strand, not by accelerating growth. That distinction matters—what you gain is fullness and resilience, a cosmetic uplift that’s ideal when your hair looks limp, fragile, or stressed by heat styling.
Fermenting the liquid for 24–48 hours can increase acidity, potentially aligning closer to scalp-friendly pH and boosting antioxidant activity. This gentle pH nudge helps smooth raised cuticles, lending that swishy, glossy finish. Because it’s budget-friendly and DIY, many view it as a salon alternative for midweek maintenance. It works especially well on fine or medium textures craving slip and shine. Curly and coily hair can benefit too, provided dilution is correct to avoid a stiff feel. Think of it as a rinse-out “glaze” that adds body while you pursue broader nutrition, scalp care, and stress management for long-term thickness.
How to Make and Use It Safely in 14 Days
Rinse 1 cup of uncooked white rice to remove dust. Soak it in 2–3 cups of water for 30 minutes, swirl, then strain; or simmer rice with extra water and reserve the cooled liquid. For a fermented boost, leave the strained water loosely covered at room temperature for 24–48 hours until it smells faintly tangy, then refrigerate. Always dilute before use: start at 1 part rice water to 3–5 parts clean water. After shampooing, pour the mixture over the scalp and lengths, massage for one minute, leave for 5–10 minutes, then rinse thoroughly and condition if needed. Patch test first and begin with two rinses a week for two weeks, adjusting strength only if hair feels soft, not stiff.
To tackle odour, infuse with orange peel or a sprig of rosemary. Keep refrigerated and discard after 5–7 days. If hair feels coated, clarify once with a gentle shampoo and increase dilution. The two-week plan aims to cut breakage and boost surface thickness, creating a fuller look without heaviness. For scalp comfort, avoid tight hairstyles during the trial, and minimise heat tools. Pair with a balanced conditioner on lengths, focusing the rice water at the roots and mid-lengths where you want lift and control.
| Day(s) | Task | Dilution | Leave-on Time | Notes/Results |
|---|---|---|---|---|
| 1–2 | Prepare (soak or ferment) | — | — | Refrigerate; add citrus peel for scent |
| 3 | Rinse 1 | 1:5 | 5–7 min | Check scalp comfort; rinse well |
| 7 | Rinse 2 | 1:4 | 7–10 min | Softer feel, improved slip |
| 10 | Rinse 3 | 1:3 | 7–10 min | Less breakage on brushing |
| 14 | Rinse 4 | 1:3 | 7–10 min | Noticeable fullness and shine |
What Science and History Say
Rice-based hair rinses have centuries of precedent in East Asia, often linked with long, dark, resilient hair in rural communities. The much-cited Yao women of Huangluo are emblematic of this tradition. On the lab bench, studies on inositol and starchy extracts indicate they can adhere to hair fibres, reduce surface friction, and protect against mechanical damage. While the literature is not exhaustive, it supports the idea of a protective film that persists through rinsing. That film effect makes strands feel thicker and behave sturdier within days, even though true regrowth takes months. Think of it as a conditioning technology born in a kitchen rather than a factory, with evidence pointing to cosmetic, not curative, results.
Fermentation may add mild organic acids and antioxidants, which help smooth the cuticle—hence the reported gloss and swing. There’s no robust proof that rice water halts hormonal thinning, yet the reduction in breakage can preserve length and density you already have. This nuance matters when expectations run high. Used alongside balanced nutrition, scalp massage, and heat moderation, rice water is a low-cost tool in a broader thickening strategy. In journalism terms: a credible, low-risk hack with historical roots, modest scientific backing, and real-world testimonials—provided you apply it sensibly and keep claims grounded.
Who Should Avoid It, and Pro Tips for Better Results
If your hair is extremely low-porosity or protein-sensitive, start with very light dilution to dodge a stiff feel. Those with flaky or reactive scalps should patch test behind the ear first. Avoid if you have a rice allergy. Stop or dilute further if hair feels rigid or coated. Clarify gently once every two weeks if you use heavy styling products. Pair rinses with a hydrating, silicone-free conditioner on ends to balance the starch film. For extra scalp vitality, infuse your brew with rosemary or green tea; both are popular for their antioxidant profile and refreshing sensation.
Store in the fridge, shake before use, and never keep beyond a week. To maximise lift, blow-dry on a cool setting with a round brush after the rinse-out stage, or air-dry and scrunch for texture. If you colour your hair, test a strand first; the rinse may slightly alter feel, not hue. Remember: the “14-day boost” refers to thickness of feel and reduced breakage, not new follicle growth. That realism keeps the ritual effective and expectations sane.
In a world of costly masks and glossy promises, a jam jar of rice water is an unlikely star: humble, quick, and surprisingly persuasive when used with care. Treat it as a protective, shine-boosting film that helps hair act thicker while you work on the longer game of nutrition, stress, and scalp health. If the next fortnight could deliver fewer tangles and a fuller look for the price of a bag of rice, isn’t it worth a try? What small tweaks—dilution, scent infusions, timing—will you experiment with to make the ritual your own?
Did you like it?4.3/5 (20)