In a nutshell
- ✨ A rice flour mask delivers gentle exfoliation via ultra-fine micro-buffing and cushioned starch, with trace phytic and ferulic acids to brighten—helping achieve a smooth, light-reflective glass skin finish.
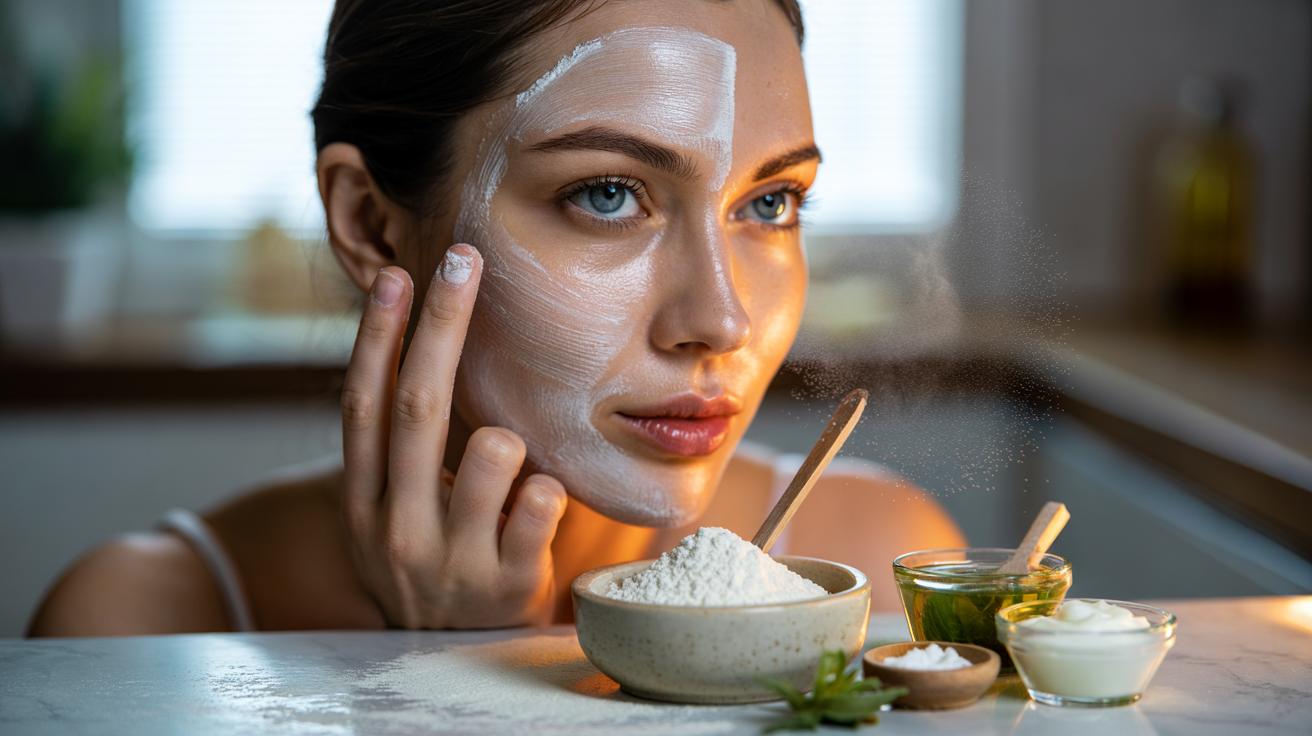
- 🥣 Mix 2 tsp rice flour with water, green tea, yoghurt, or aloe to a yoghurt-like paste; apply 8–10 minutes, rehydrate, and massage lightly before rinsing, then follow with hydrating toner and a barrier-supporting moisturiser.
- 🧪 Tailor by skin type: Oily/combination 2–3× weekly with green tea; Normal 1–2× with water or aloe; Dry/sensitive 1× with milk/oat milk—use add-ons like niacinamide, honey, or aloe and adjust ratios to comfort.
- ⚠️ Practice safe exfoliation: limit to 1–3× weekly, patch test, avoid pairing with strong AHAs/BHAs/retinoids the same night, and stop if tightness or stinging occurs to protect the skin barrier.
- 🧴 Lock in radiance with humectants (hyaluronic acid), ceramide creams, and daily SPF; add vitamin C on non-mask days and keep routines minimal to prioritise texture and hydration.
From Seoul’s sleek skincare counters to British kitchen cupboards, the humble bowl of rice flour is having a moment. The appeal is simple: a mask that whispers rather than shouts, buffing away dullness to reveal the lustrous clarity often called glass skin. Because the particles are ultra-fine and cushioned by starches, gentle exfoliation becomes achievable without harsh scrubbing. Mixed with water, tea, or yoghurt, rice flour forms a adaptable paste that tidies pores, smooths texture, and helps light bounce evenly across the face. Here’s how the ritual works, why it suits different skin types, and the small safety steps that keep the glow serene rather than sensitised.
Why Rice Flour Earns Its Glow Reputation
The magic of a rice flour mask lies in the interplay of texture and chemistry. Finely milled particles deliver micro-buffing that loosens surface flakes, yet the starch base keeps friction low, acting like a cushion on the skin. That combination supports gentle exfoliation and a fresher tone without the tingle often associated with acids. Rice naturally contains trace phytic acid, a chelating compound known for mild brightening, and small amounts of antioxidants such as ferulic acid, which help defend against dulling free radicals. Together they encourage a clearer complexion that reflects light uniformly—key to the coveted glass skin effect.
Another advantage is oil management. Rice flour can mop up excess sebum on the surface, reducing the appearance of shine while maintaining comfort when mixed with hydrating liquids. Used with a light touch, the mask smooths texture and refines the look of pores without provoking redness. The result is not a scrubbed, squeaky-clean finish but a soft-focus clarity that makes highlighter optional.
How to Mix a Rice Flour Mask for Glass Skin
Start with two teaspoons of rice flour in a small bowl, then trickle in your chosen liquid to form a yogurt-like paste. For a classic, use cool water or green tea for antioxidant support. Seeking extra conditioning? Stir in plain yoghurt for lactic softness or a teaspoon of aloe gel to soothe. Apply a thin, even layer to clean skin, avoiding the eye area. Let it sit for 8–10 minutes so starches absorb oil and the mild actives can soften dead cells. Rehydrate with damp fingertips, then massage lightly in circular motions for 20–30 seconds before rinsing with lukewarm water. Keep pressure feather-light to preserve the skin barrier.
| Skin Type | Rice Flour Ratio | Liquid | Add-ons | Frequency |
|---|---|---|---|---|
| Oily/Combination | 2 tsp : 1–1.5 tsp | Green tea or water | 1–2 drops niacinamide serum | 2–3× weekly |
| Normal | 2 tsp : 1.5–2 tsp | Water or aloe | Honey, 1/2 tsp | 1–2× weekly |
| Dry/Sensitive | 2 tsp : 2–2.5 tsp | Milk or oat milk | Aloe gel, 1 tsp | 1× weekly |
After rinsing, pat dry—don’t rub—and follow with a hydrating toner and a barrier-supporting moisturiser. This sequencing locks in the silky clarity you’ve just created.
Safe Exfoliation: Frequency, Sensitivity, and Patch Testing
Even the gentlest polishing needs guardrails. Limit use to one to three times a week depending on tolerance, keeping sessions short. Signs you’re overdoing it include tightness, lingering redness, or increased shine due to a stressed barrier. Balance the mask with a simple routine on treatment days: hydrating toner, serum focused on calm (panthenol or centella), and a ceramide-rich cream. Skip strong actives like high-strength AHAs, BHAs, or retinoids on the same night to avoid compounding exfoliation.
Allergies are uncommon but possible. Perform a patch test behind the ear or on the inner forearm for 24 hours before first use or when changing your liquid additives. Those with eczema, rosacea, or a compromised barrier should proceed carefully and keep massage to a minimum. If stinging occurs, rinse immediately and buffer with a bland moisturiser. With measured pacing and attention to feedback, the rice flour ritual remains steady, comfortable, and effective.
Beyond the Mask: Pairing With Your Routine for Lasting Radiance
For enduring luminosity, build a supportive cast around your mask. Begin with a gentle, low-foam cleanser so you’re not doubling down on disruption. After masking, layer a humectant serum—think hyaluronic acid or glycerin—then seal it with a cream containing ceramides, squalane, or cholesterol. In the morning, anchor everything with a high-SPF sunscreen; sun protection is the non-negotiable partner to any brightening strategy, preserving new-found clarity and staving off uneven tone.
If you’re chasing extra sheen, integrate vitamin C on non-mask days, or use a lightweight facial oil as the last step at night to enhance reflectivity without clogging pores. Keep the rest of your routine pared back: the glass skin look comes from even texture and water content, not layers of actives. Track results over four weeks; subtle, cumulative smoothing is the sign you’re pacing it right—not overnight drama.
The rice flour mask is a quiet triumph: inexpensive, adaptable, and kind to complexions seeking refined light reflection. By leaning on gentle exfoliation and barrier respect, it coaxes clarity while steering clear of the harshness that derails routines. Choose the right mixing liquid, keep massages soft, and let hydration do the heavy lifting afterward. With consistency and sunscreen, the glow becomes easier to maintain than to chase. How will you customise your next bowl—brighter with green tea, silkier with yoghurt, or soothing with aloe—to craft the precise glass-skin finish you want?
Did you like it?4.5/5 (22)